

Create your account
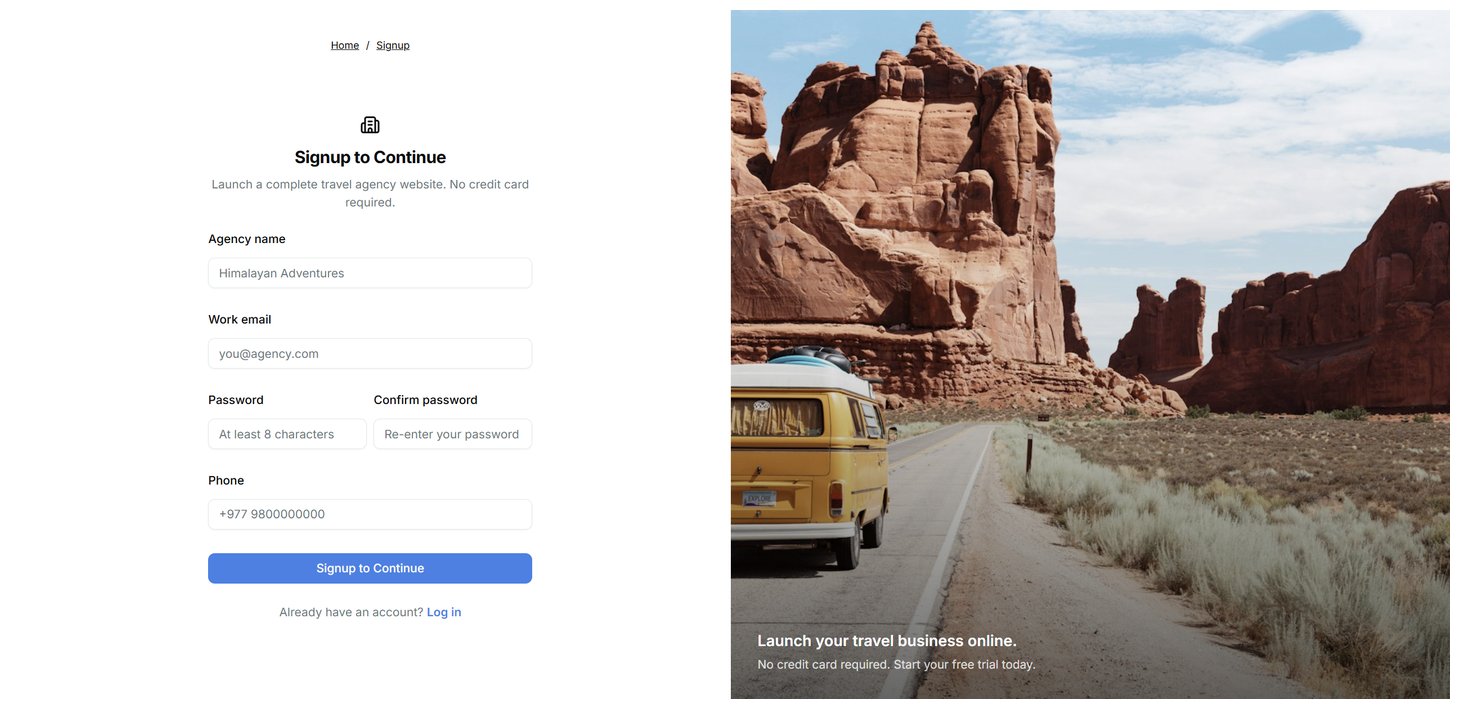
- Open the TripEleven signup page.
- Enter your agency name and work email.
- Create a password of at least eight characters and enter it again.
- Add a phone number if want.
- Select Signup to Continue.
Login
- Open the verification email and select its link. Check spam if it does not arrive.
- Select Log in. Your seven-day trial starts when your email is verified.
Complete onboarding
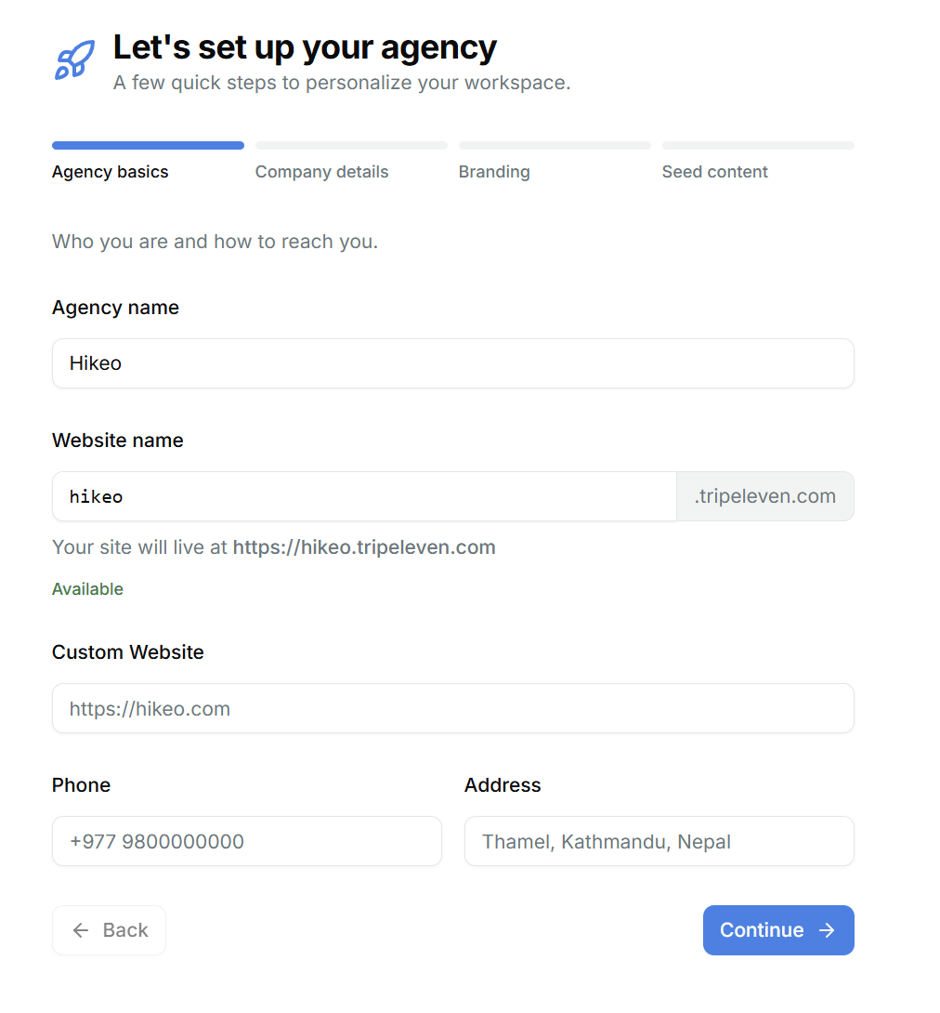
On first login the workspace owner completes a four-step setup:- Agency basics: agency name, available website name, phone and address. The website name becomes your default TripEleven subdomain. A custom website needs the Launch plan or higher.
- Company details: employee count, years of experience and an optional description.
- Branding: upload your logo, choose a storefront theme and review the summary.
- Seed content: pick ready-made catalog items, or skip this optional step.
Recommended setup order
- Complete Public Profile and Appearance, including Basic Brand.
- Upload reusable images in Media.
- Create destinations, categories, tags and extras.
- Create a trip and review its preview.
- Publish the trip.
- Add slots if you sell dated departures.
- Add pages, posts, testimonials and other marketing content.
- Connect a custom domain from Public Profile when ready.